Showing posts with label publ. Show all posts

Sunday, November 17, 2019

Including source code in papers (and exams)

In march 2015, I wrote about using Pygments when including source code in papers (and on the web). I still use Pygments, but I have never updated the description on how I do it now. In most cases, I use Pygments implicit without interacting with the program myself. I leave it to the LaTeX package minted. You still need to install Pygments, but you do not need to interact with it. The minted package calls Pygments to do the task for you. The only thing you have to do is to ensure that LaTeX or PDFLaTeX (or whatever version of LaTeX you are using) is passed the --shell-escape option. Otherwise, LaTeX is not allowed to do such calls.

I often use minted in combination with the LaTeX package fancyvrb. For example in this excerption from a LaTeX document:

  \usepackage{fancyvrb}
  \usepackage{minted}

  ⁝

  The function \mintinline{python}{dblderivative} should be used
  like this:

    \inputminted[firstline=2]{python}{dblderivative-ex.py}

  The execution of this example will give the following output:

    \VerbatimInput[label=Resultat fra kjøring]{dblderivative-ex.out}

In the preamble I load the two LaTeX packages. The \inputminted command will include the Python code from the file dblderivative.py pretty-printed in the document in the selected style. You can use the command \usemintedstyle to change the style of the code included in the document. To list possible styles run the following command in a shell:

  pygmentize -L styles

The default style is inspired by Emacs. The \VerbatimInput command in the example will include the text file dblderivative-ex.out with a nice layout in the document, including a descriptive text (label). In this example the text file is generated from running the Python program dblderivative-ex.py piping the output from the program to the text file:

  python dblderivative-ex.py > dblderivative-ex.out

This example above can typically end up looking like this in the final PDF-document:
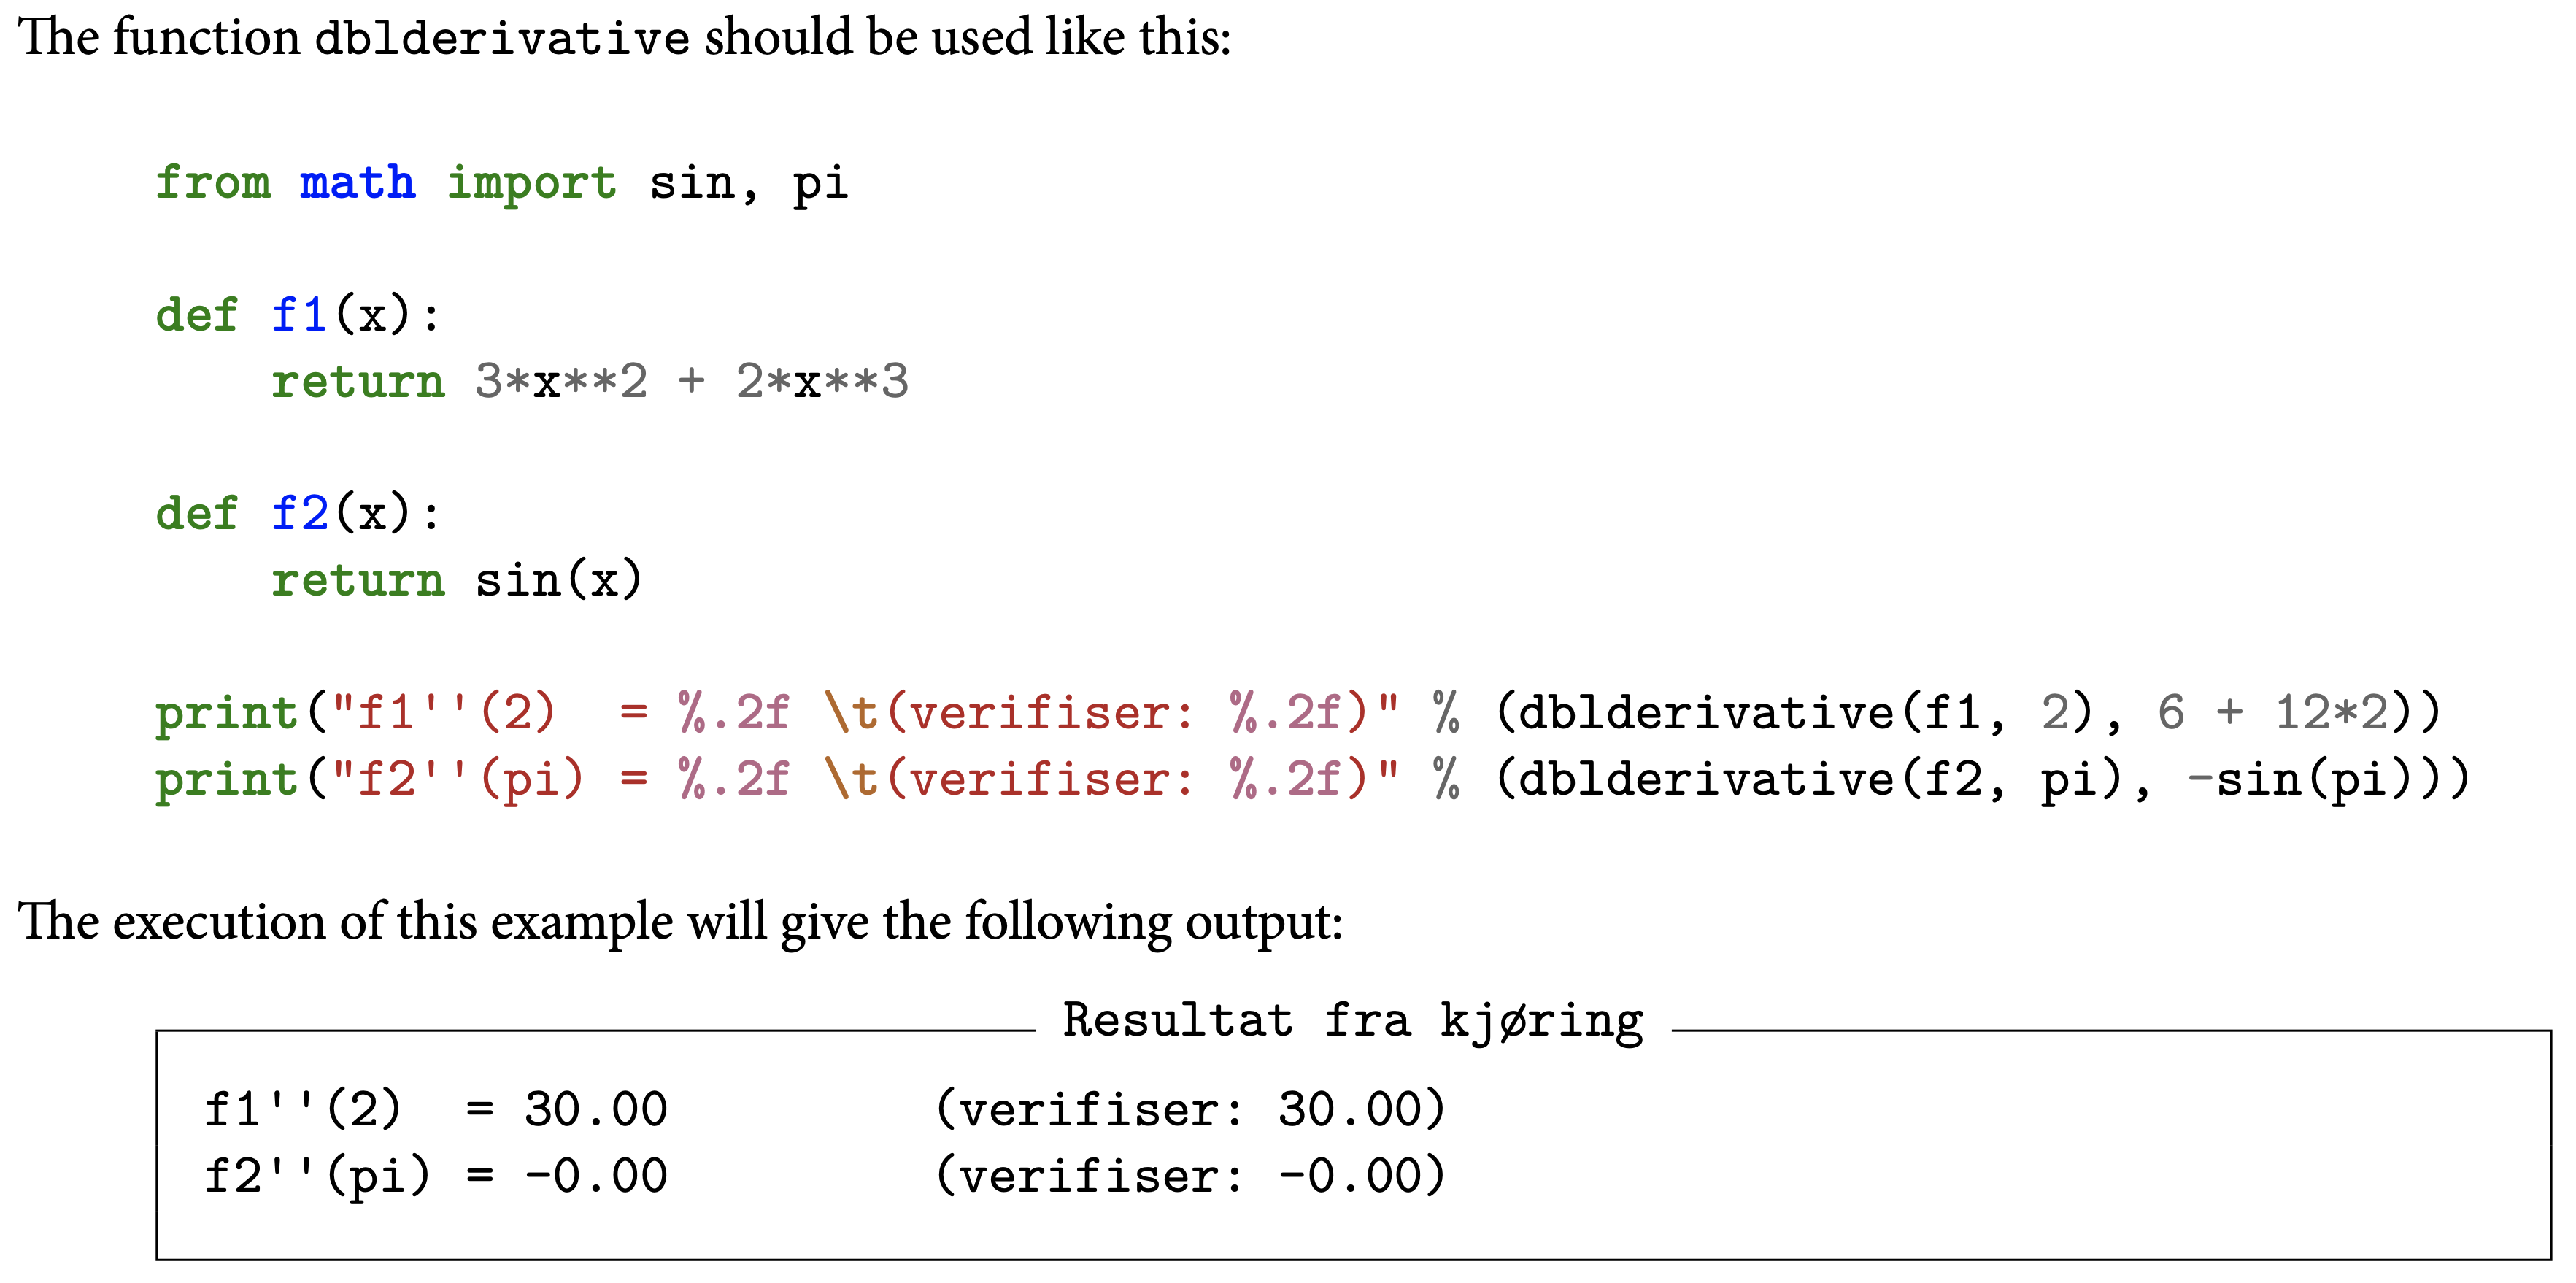
minted-ex

You can also include code directly in LaTeX using the minted environment:

  \begin{minted}{python}
    def dblderivative(f, x, h=1E-5):
        return (f(x + h) - 2*f(x) + f(x - h))/h**2
  \end{minted}

More detailed description on the usage of these packages can be found in the minted documentation and in the fancyvrb documentation.

Tuesday, September 22, 2015

Non breakable spaces in Word

I prefer TeX and friends (LaTeX, MetaPost, BibTeX) when writing papers. But sometimes I have to use Microsoft Word. One annoyance I have observed in many documents written in Word is line breaks (word wrapping) on wrong places. Not all spaces are a correct place to break lines in a text. In TeX I would write the tilde (~) character instead of a space, and in HTML I would use the character entity  . This would create a space were a line break will not occur. However, this is also easily possible in Microsoft Word. Instead of inserting the space by typing on the Spacebar, press Ctrl-Shift-Spacebar, and a non breakable space is inserted in your document.

Friday, March 20, 2015

Including source code in papers and on the web

I've written many papers and a lot of web pages that includes source code. Since Python code was an important part of my Dr. thesis, I even wrote a tool to generate a pretty-printed Python code for LaTeX (this was written in 1997, but since I've been using it ever since it has had a few minor bug fixes since then; however, it needs Python 1.6 and it was the first Python program I ever wrote!). Just by accident (being sidetracked when I was checking out Middleman extensions) I rediscovered Pygments yesterday. I know I've seen it before, but I had forgotten all about it. This time I checked it out, and I think it will finally replace my home-written tool. Since I write most of my papers in LaTeX and I use BSDmake to do the magic, I have included a few new rules in my Makefile (using my old ltk.mk file):

PY2TEX =	pygmentize -f latex -P "verboptions=frame=single" -O linenos
SRCSTYLE =	srcstyle.sty
STYLETYPE =	default
MKSTYLE =	$(PY2TEX) -S $(STYLETYPE)

.include	"$(HOME)/lib/mk/ltx.mk"

$(LTXSRC):	$(SRCSTYLE)

$(SRCSTYLE):
		$(MKSTYLE) > $(.TARGET)

In the LaTeX document I have to include the generated style file and the fancyvrb package (and for most styles the color package). If the source code included in the document is in the file src/mypycode.py, then you will find this in the LaTeX document (ltx.mk expects to find source code files in the src directory):

\usepackage{fancyvrb}
\usepackage{color}
\usepackage{srcstyle}
...
\begin{figure}
  \begin{minipage}{0.9\linewidth}
    \input{src/mypycode.tex}
  \end{minipage}
  \caption{The caption text describing mypycode.}
\end{figure}

Pygments can be used to generate TeX, LaTeX, HTML and many other formats. It supports a wide range of programming languages, and can easily be extended to other formats and other programming languages. It is highly configurable and flexible, and the command line way of using it is the simple approach. For full control and flexibility you write your own tool using Pygments as a Python library (and it supports both Python 2 and 3).

The styles, programming languages, formats, and filters available can easily be listed with these commands:

pygmentize -L styles		# styles
pygmentize -L lexers		# programming languages
pygmentize -L formatters	# formats
pygmentize -L filters		# filters
pygmentize -L			# all

Monday, October 8, 2012

Generating a BibTeX file from Cristin data

Based on the previous script generating HTML from Cristin data, I created another script generating a BibTeX file from the same JSON data. The script has the same limitations as the previous one, but it should be easy to modify for your needs. Have fun!

Saturday, October 6, 2012

Fetch and process information from Cristin

Yesterday I wrote a small Python script to fetch and generate a publication list for web-pages. I use a web-services (ws) provided by Cristin (Current research information system in Norway). Cristin is a research information system for hospitals, research institutes, and universities and university colleges. From the provided ws I use the method hentVarbeiderPerson (see Brukerdokumentasjon Cristin Web Service for details). The argument lopenr is set to the unique id of the researcher (who's publications I want to fetch). The argument format is set to json and the argument sortering is set to to AAR_PERSON_TITTEL (meaning sort the results by year, name and title). The query string then becomes (replace <ID> with the unique id of the user):

http://www.cristin.no/ws/hentVarbeiderPerson?lopenr=<ID>&format=json&sortering=AAR_PERSON_TITTEL

This query will return the publications in the JSON format. You can try this URL (with a real value for the id) in a browser or with command line programs like curl. The Python script processes it and generate HTML. The script is tailored towards publications registered in my name. However, it should be easy to modify the script to match your type of publications.  It reads the fetched JSON file from stdin and write the generated HTML to stdout. Errors and warnings are written to stderr. You should check the warnings. They might give you a hint of type of publications my script doesn't support.

In the returned data from Cristin each publication has two data sets. The "fellesdata" (common data, see commonmap in the script) part includes title, authors, year and some information on what type of publication it is. The "kategoridata" (category data, see catmap in the script) includes information about how the publication was published.  Based on these two sets of information I group the publications in different sections (like Web pages, Conference papers, Journal papers, and Reports, see tmap for details).  The order attribute specifies the order of the information inside each entry, and the porder attribute specifies the order of the sections (different type of publications). Have fun with it. The Python script is written for Python 3, but it should work with Python 2.